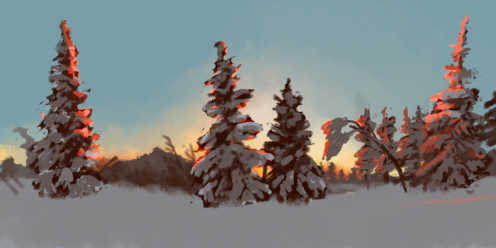
This week I continued to experiment with both blending and style, trying to both step out of my comfort zone and find good ways to simplify the environments and “push” the colors without losing too much of the detail or nuance of the picture. I can tell that I’m already getting better at accurately choosing colors and blending, and I’m starting to figure out how to render quickly and what colors can be exaggerated for contrast.


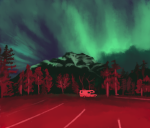


The original image is on the right, while my speedpaints are on the left.
(Image 1 source, Image 2 source, Image 3 source, Image 4 source, Image 5 source)
A simplified rundown of my speedpainting process goes like this:
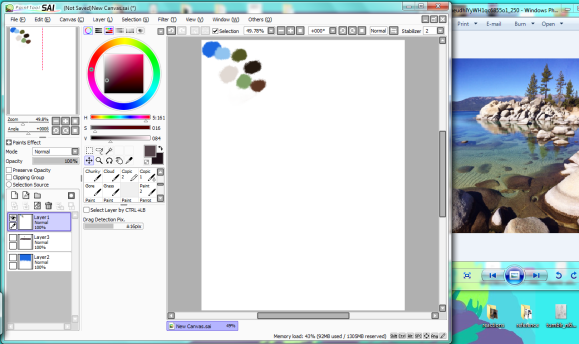
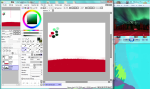
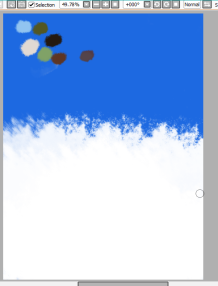
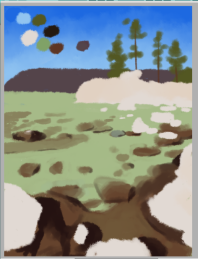
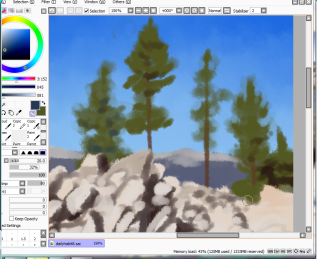
First, I make a color scheme by looking at the reference photo and figuring out the most prominent values. I then try to estimate the value by eye, and once I have a general color scheme picked out (as seen in the top left of the canvas), I tweak the values so they become a more cohesive color scheme.
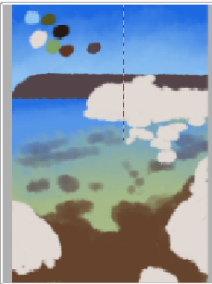
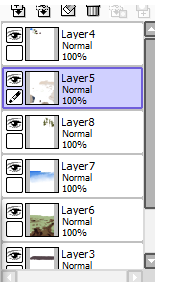
Next, starting with the the part of the image that would be farthest back physically, I sketch out the rough shapes of the landscape, making sure to separate the shapes on different layers according to where it is in the environment. I also start blending the background (and in this specific case, the water).
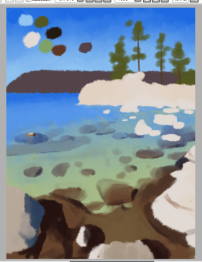
After that, I clean up the shapes in the environment and add smaller details, then start shading (in the middle image, I disabled the water layer so I could see underneath)
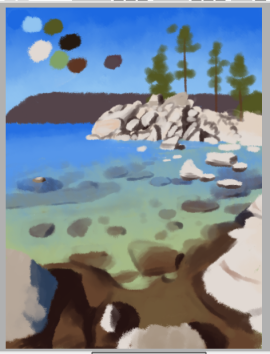
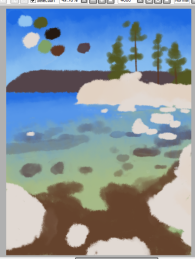
I continue shading, working my way into the far background and tweaking colors and shapes that look off.
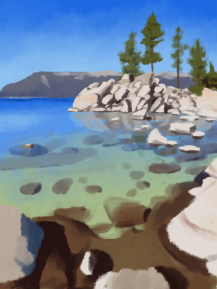
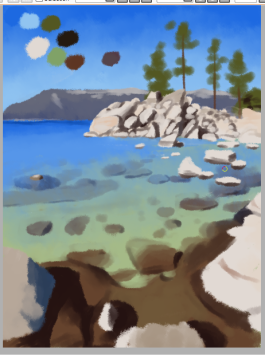
Lastly, I go in for the small details, such as the reflection on the water or further defining the shapes of the trees before finally deciding the piece is finished.
Here is the process for another one of this week’s speedpaints to further illustrate how I work.